Create a Custom Figure Block in Sanity that Supports Lazy Loading Effect

I recently integrated Sanity into my Next.js Blog and I wanted those gatsby-image blur up effects for the images in my posts. While I was considering building my own image processing build steps, I found that Sanity image pipeline has already provided all the metadata that I needed. Sweet! 🍬 In this article, I will share how I created a custom Figure block in Sanity, and leverage its image pipeline to power my lazy loading image component. I will also show how I query the data I need with GROQ.
In my last article, I shared what it takes to create an image with lazy loading effect and turned it into a React component. Read more
Envision the Frontend Component 👁
I am using React but you may implement it with Vue, Svelte, etc. The <LazyImage /> component takes 4 props:
- src —
srcattribute for theimgHTML element, - alt —
altattribute for theimgHTML element, - lqip — stands for Low-Quality Image Placeholder, can be a web URL or preferably, data URL,
- aspectRatio — to create an intrinsic placeholder to prevent reflows,
- Live demo
I also want my images to be shown with a caption. That's why I created this <Figure /> component which is simply a figure element wrapped around the <LazyImage /> component and a conditionally rendered a figcaption element.
function Figure({ alt, caption, captionUrl, src, lqip, aspectRatio }) {return (<figure><LazyImage alt={alt} src={src} lqip={lqip} aspectRatio={aspectRatio} />{caption && (<figcaption>{captionUrl ? (<a href={captionUrl} target="_blank" rel="noopener noreferrer">{caption}</a>) : (caption)}</figcaption>)}</figure>);}
Mirror the Figure Type in Sanity 🗺️
When you create a field with image type in Sanity and upload a photo to it, Sanity automatically populates several useful metadata such as an LQIP data URL, palette information, and the image dimension including aspect ratio which covers all the data we need to pass into the lazy loading image component.
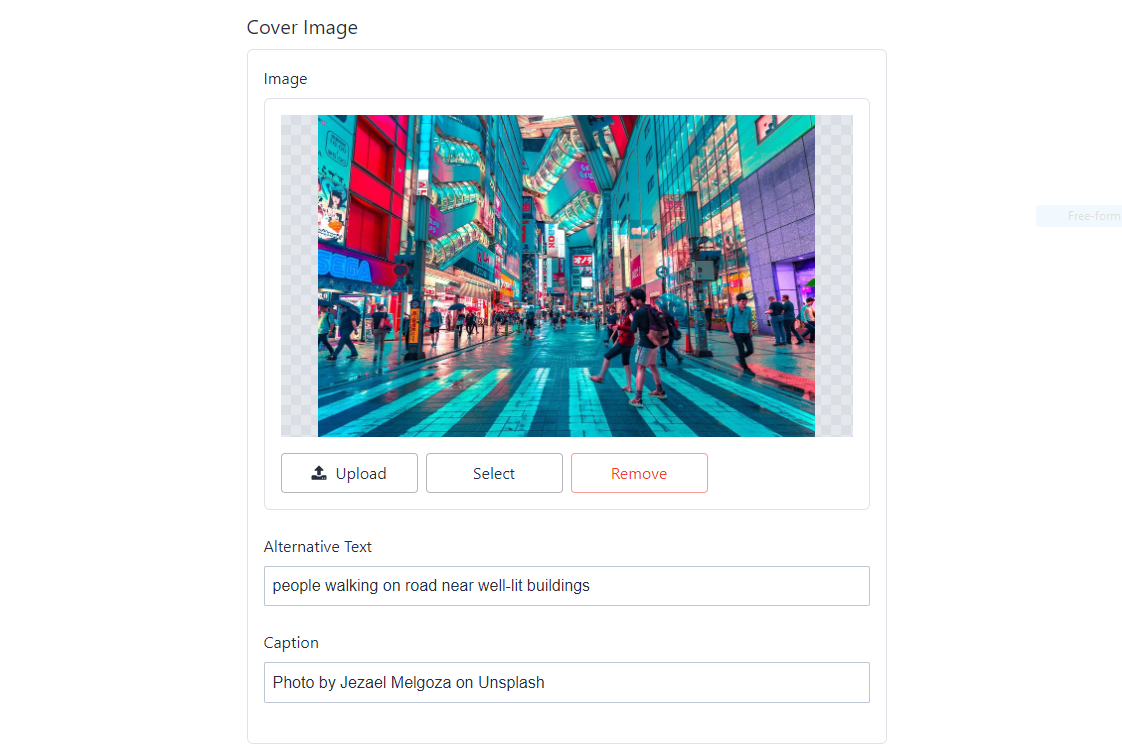
To keep my content structured, I created a figure type which is an object with 4 fields:
- image:
image - alternate text:
string - caption:
string - caption Url:
string
// figure.jsexport default {name: 'figure',type: 'object',title: 'Figure',fields: [{name: 'image',type: 'image',title: 'Image',options: { metadata: ['lqip'] },},{name: 'alt',type: 'string',title: 'Alternative Text',},{name: 'caption',type: 'string',title: 'Caption',},{name: 'captionUrl',type: 'string',title: 'Caption URL',},],};
I also specified that I want lqip to be generated from my images. Here you can find a list of metadata you can get. I then added it to the schema so that it can be reused as the type for other fields.
// schema.jscreateSchema({name: 'default',types: schemaTypes.concat([link,internalLink,socailLink,portableText,simplePortableText,figure, // 👈video,post,author,blogSettings,]),});
To use this figure type for my portable texts, I added it to my portableText type. I will also use it for the coverImage field of the post document.
// portableText.jsexport default {title: 'Portable Text',name: 'portableText',type: 'array',of: [{type: 'block',styles: [{ title: 'Normal', value: 'normal' },{ title: 'H2', value: 'h2' },{ title: 'H3', value: 'h3' },{ title: 'H4', value: 'h4' },{ title: 'Quote', value: 'blockquote' },],marks: {decorators: [{ title: 'Strong', value: 'strong' },{ title: 'Emphasis', value: 'em' },{ title: 'Code', value: 'code' },],},},{ type: 'figure' }, // 👈],};
Now I can go to the Sanity Studio and start using the newly added figure field.

Query the Image Data
To access the data from the application, I use Sanity's query language GROQ. Sanity does support deploying GraphQL APIs and it is tempting to do so. But I decided to stick with GROQ for a while and try to appreciate its design.
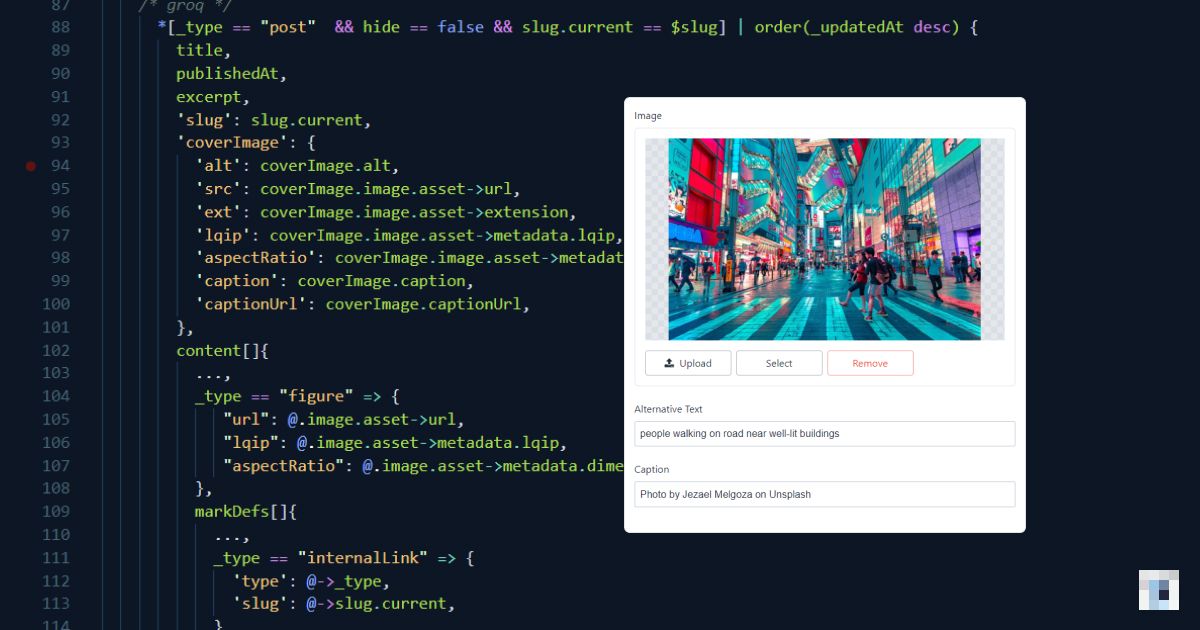
Below is the GROQ query for fetching all data for a post page. Notice how I transform all figure object which contains reference and nested object into a new object with only the fields I need. Yes, it looks gigantic... I am still learning so please let me know if there are ways to simplify it. 😉
function getPost(slug) {return client.fetch(/* groq */ `*[_type == "post" && slug.current == $slug] | order(_updatedAt desc) {title,publishedAt,excerpt,'slug': slug.current,'coverImage': { // 👈'alt': coverImage.alt,'src': coverImage.image.asset->url,'ext': coverImage.image.asset->extension,'lqip': coverImage.image.asset->metadata.lqip,'aspectRatio': coverImage.image.asset->metadata.dimensions.aspectRatio,'caption': coverImage.caption,'captionUrl': coverImage.captionUrl,},content[]{...,_type == "figure" => { // 👈"url": @.image.asset->url,"lqip": @.image.asset->metadata.lqip,"aspectRatio": @.image.asset->metadata.dimensions.aspectRatio,},markDefs[]{...,_type == "internalLink" => {'type': @->_type,'slug': @->slug.current,}}},}[0]`,{ slug });}
Thoughts
Creating a custom block/field feels pretty straight forward to me using Sanity. The challenging part is to query/transform/join data. I am aware that I have been using just a tiny fraction of what Sanity has offered and I am excited to see what I can build with it.
I will write about my learning progress and other tips here. Please follow my Twitter or DEV account to get the latest updates. Ciao!
Discuss on Twitter
I am redesigning my blog to integrate a CMS. (before that I used MDX to write my posts) I figured it's another good chance to learn new tech stacks. After playing with several headless CMSs, I picked Sanity.io to be used with my go-to SSG/SSR framework Next.js. I also tried out TailwindCSS to learn about what's going on with this trendy utility-first CSS. I will share my learning progress and tips I found regularly.